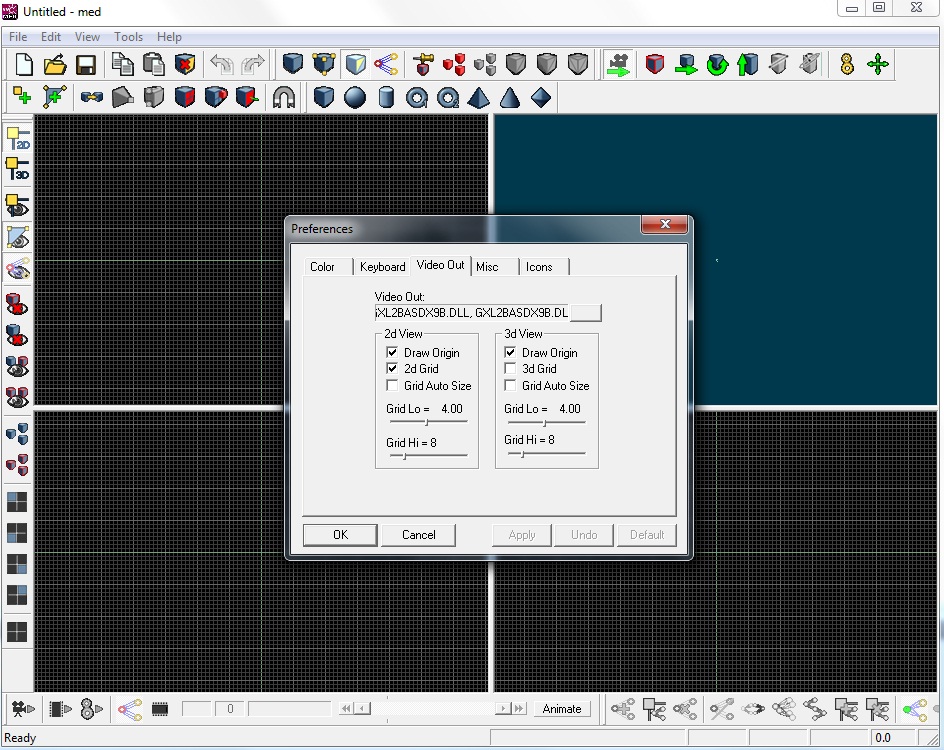
When you first install MED, it uses the default settings. Many things can be changed per personal preference like shotcut keys, colors and turning features on and off. For this tutorial we are going to turn the grid on. To do that go to File->Preferences. Then go to Video Out tab from the preferences dialog and click on 2D Grid. You will have the grid shown in the screenshot below. If you wish you can also turn 3D Grid on which will place a grid in the 3d viewport.
If you are having any problems related to viewport rendering, like if grid or contents of the views are distorted or not visible at all, your DirectX version is probably too old. You can then change the graphics library that is used by MED: click on the box next to Video Out bar, and select GXL2BASDX9A.dll
Under the Color tab, you can nearly change color of everything that can be seen in viewports including grid and viewport color itself. You can get back to preferences and change colors if you want, while you are working through this tutorial. Under the Keyboard tab you can assign shortcut keys to tools. Assign keys to tools as you see fit, you can also do that after getting more familiarity with the tools while following this tutorial. For now, i assigned "W" key to "Weld" and "E" key to "Extrude".
Now that the MED is ready, we can start to work with it.