3.2– Start Simple
When you begin building your level start simple. I usually do not begin by building one room in a level and then adding every single little detail and then moving on to the next. Instead I usually build a shell that represents that room and then move on creating halls and other rooms as I go. Once I get the basic flow of the level laid out in WED I then begin to add details to each section. The types of details I add will depend on the purpose and function of the area.
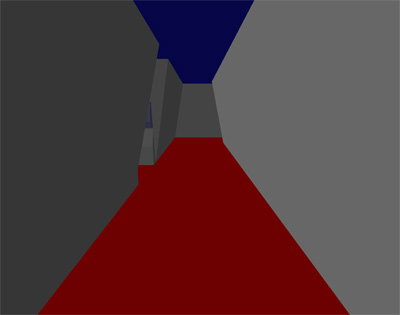
For example, take a look at the first set of halls in second level of The Test:
I first laid out a pretty basic hall. The walls very very straight and at 90 degree angles like most hallways. The floor was nice and flat. All in all, it was pretty boring. So I decided it need to be made more interesting. The first thing I did was decide the walls should not be at 90 degree angles. I angled them slightly inward:
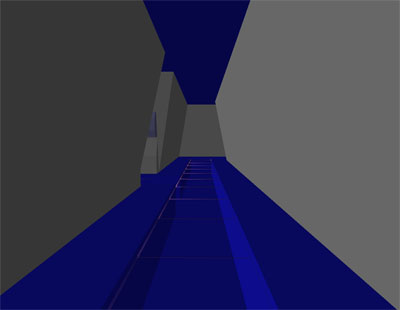
I then decided the floor was too typical and so I created an indented area covered with a metal floor grating:
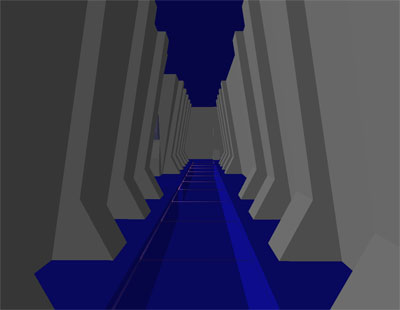
Lastly I added support structures to the wall to sort of break up the hall a little. I did this because I knew it would add nice shadows when lights were added later on:
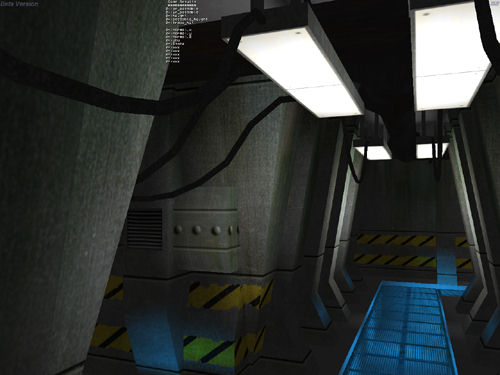
Since we are looking at halls, let's look at the hall in the second part of the same level:
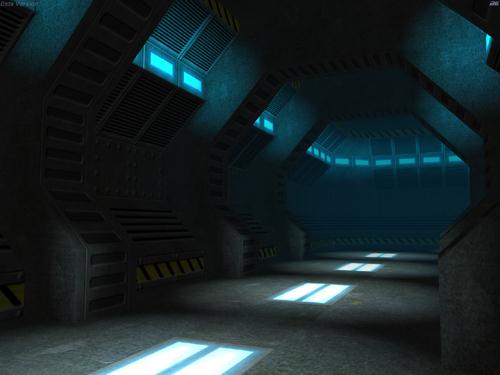
This hall is much different from the first one. There are two reasons for this. The first reason is that this is a different area of the level. The second is I simply wanted a different look so as not to bore the player. Use your creativity to make unique and interesting areas, but at the same time keep in mind the overall purpose of the areas you are creating.
Return to Part 3.1 - Use Snapping
Go to Part 3.3 - Duplicating