MED is the free modelling and model import tool that comes bundled with Gamestudio. It is not competing with high end tools like MAX®, MAYA®, XSI®,Blender etc. but it has enough features to create 3D content from scratch and since it is simpler it is easier to start with. Med is also used for importing models together with textures, materials, lightmaps, and animation from these high-end tools via 3DS, FBX, or other popular model formats.
It features 4 viewports, tools for mesh editing, tools for creating primitive shapes, a skin manager and editor, a bones and animation editor, and a terrain editor. You can create fully animated,skinned model with only using MED and image editing application(Pohotoshop, Gimp, Paint,Paint.net etc.) of your choice. It is the main model editor for the Gamestudio model format MDL7. (Altough the extension is the same, this format is not identical to the Valve® GoldSrc and Valve® Source™ Engine MDL format!)
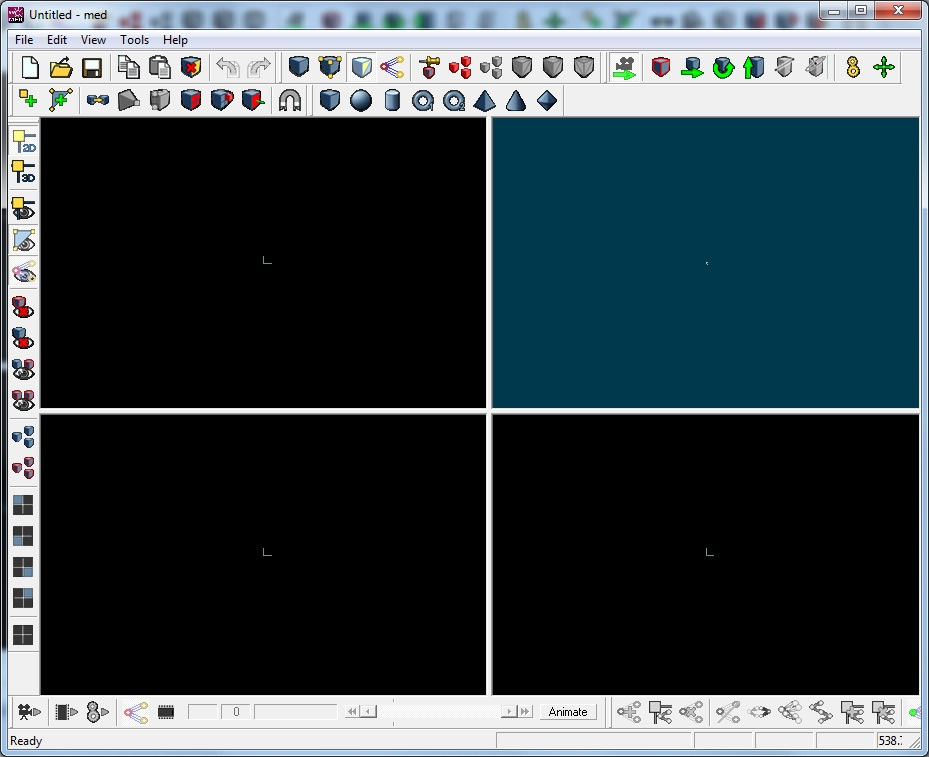
As this tutorial is about MED, go ahead and start it. Either go to the directory where you installed Gamestudio, or go to Start -> All programs -> Gamestudio -> MED Model Editor. When you first run MED, you will see this window:
As you can set up individual user skins for MED, your icons might look a little different, depending on your version. All tools and menus are explained in the Gamestudio manual in detail. Most of the tools' names and icons give some hints about their use. I am going to explain them as we use them through this tutorial, but it's a good idea to go ahead and skim through that part of the manual. You can open the Gamestudio manual from the MED menu under Help.