We are going to start with modelling and skinning a basic model to get the main idea of the modelling with very basic techniques. Before we start let me clarify two things for people who already used other modelling software:
By "skinning", i mean unwrapping and texturing a model.
By "rigging", i mean
assigning vertices of the model to the bones. In some 3D software "skinning" may mean what i refer as "rigging". Also in some places i may use the word "model" as a verb.If you have no idea what these two words means, don't worry, you are going to learn them soon.
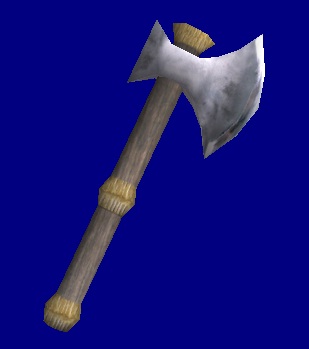
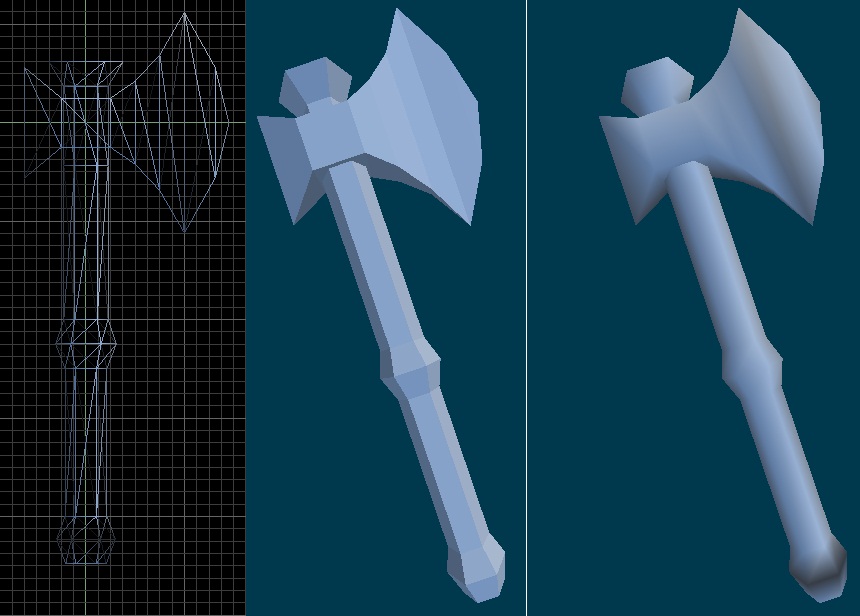
We are going to model this axe:
We will start by creating the basic shape of the model and we are going to use primitives for that.
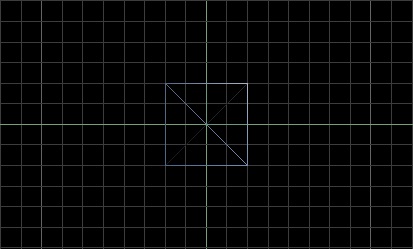
Click on the Cube![]() icon from the toolbar. Note that cube icon looks same with the Group icon. You should use the cube icon from the primitive toolbar, it has a sphere icon next to it. Also a tooltip with the tool name will appear if you roll over a icon and keep your mouse cursor here for a little while without clicking. If you found the right icon, now click on it and then click on the top viewport(top-left slice of the MED). Try to click close to the origin. You will have something like this:
icon from the toolbar. Note that cube icon looks same with the Group icon. You should use the cube icon from the primitive toolbar, it has a sphere icon next to it. Also a tooltip with the tool name will appear if you roll over a icon and keep your mouse cursor here for a little while without clicking. If you found the right icon, now click on it and then click on the top viewport(top-left slice of the MED). Try to click close to the origin. You will have something like this:
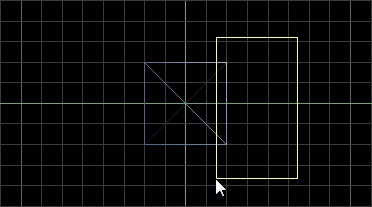
Then make sure you are in Triangle Mode![]() and draw a selection box around the right side of the cube like this( We are still working on the top viewport):
and draw a selection box around the right side of the cube like this( We are still working on the top viewport):
You do not have to be in select mode to that, you can draw the selection box with most of the editing tools. They will become selected as shown below:
While thetriangles are selected, click on the Extrude![]() tool. You might want to assign a hotkey to extrude as explained in the first part of this tutorial(Workspace setup). A small extrude window will appear. It asks you how much the faces will be extruded. Put 8 in the box, if you kept the default grid sizes, it will look like this:
tool. You might want to assign a hotkey to extrude as explained in the first part of this tutorial(Workspace setup). A small extrude window will appear. It asks you how much the faces will be extruded. Put 8 in the box, if you kept the default grid sizes, it will look like this:
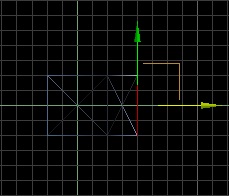
While the triangles are still selected, pick the Scale![]() tool and scale the selection up a little by clicking and dragging the green arrow that can be seen on the screeshot above. Note that the arrow will turn to yellow when you hover your mouse on it. It should look similiar to this:
tool and scale the selection up a little by clicking and dragging the green arrow that can be seen on the screeshot above. Note that the arrow will turn to yellow when you hover your mouse on it. It should look similiar to this:
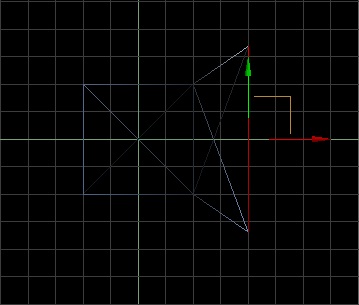
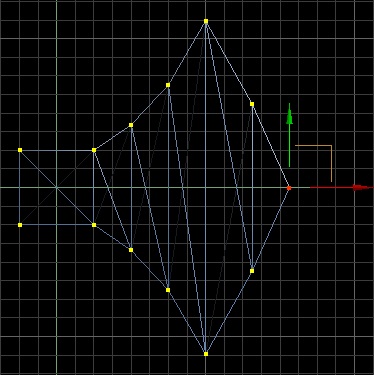
Keep repeating the same steps until you get the shape you want:
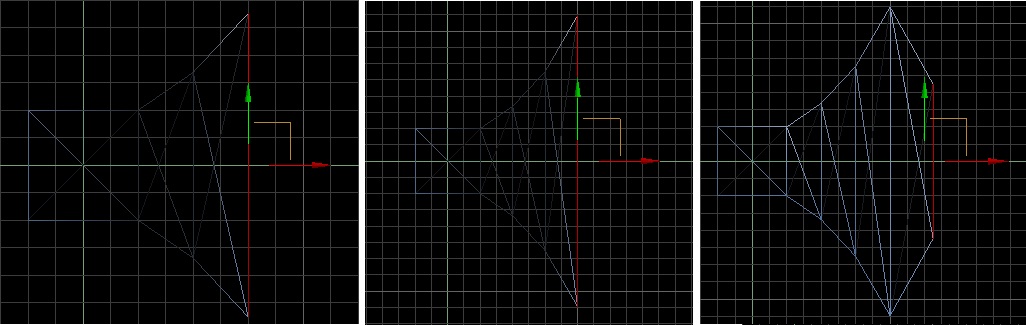
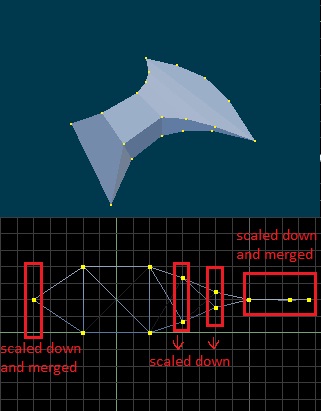
For the edge of our axe we are going to try something diffrent, Extrude once more and switch to Vertex Mode![]() this time, then select the vertices by drawing a selection box around them:
this time, then select the vertices by drawing a selection box around them:
And again using the Scale![]() tool, scale the selection down so that the vertices gets closer to each other as much as possible.You may even make them overlap(You may want to zoom in ın this step):
tool, scale the selection down so that the vertices gets closer to each other as much as possible.You may even make them overlap(You may want to zoom in ın this step):
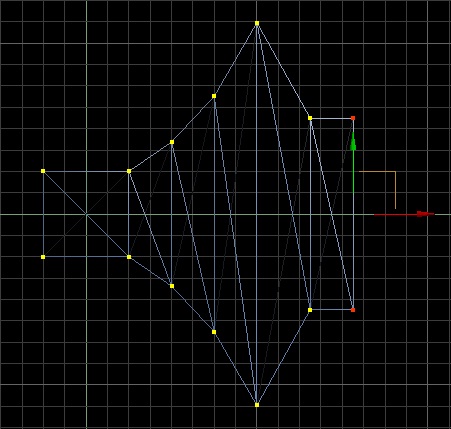
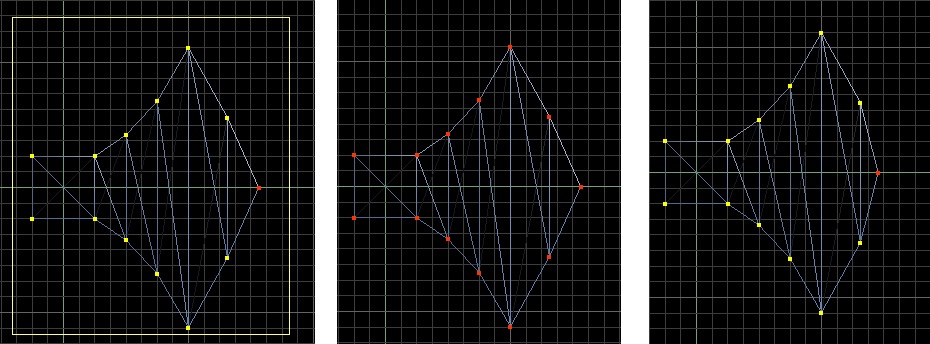
Now select all vertices by drawing a large box around the mesh you created, and click on the Merge![]() button. After clicking the merge button, it will merge vertices that are very close or overlapping. After merging, the vertices that remian selected are the ones that have been merged. If your selection didn't change(all vertices are still selected) then there was no vertices that satisify the merge criteria. It means your vertices are not close enough, go back to the steps above and make your vertices as close as possible. I also moved that vertices a little to left to get a better look.
button. After clicking the merge button, it will merge vertices that are very close or overlapping. After merging, the vertices that remian selected are the ones that have been merged. If your selection didn't change(all vertices are still selected) then there was no vertices that satisify the merge criteria. It means your vertices are not close enough, go back to the steps above and make your vertices as close as possible. I also moved that vertices a little to left to get a better look.
One more extruding and scaling step for the rear side of the axe:
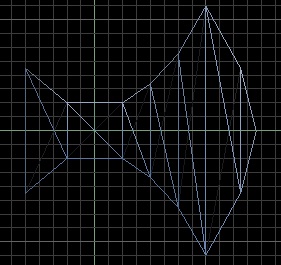
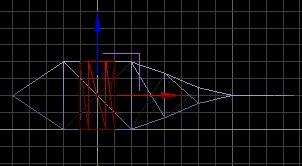
It looks very cool from the top, but it does not look very good from the sides:
We are going to fix that. This time we are going to get in to the vertex mode and scale some parts of the axe to make it sharper. This time we are working on the "Front View", the view that is on the bottom-left viewport of the MED:
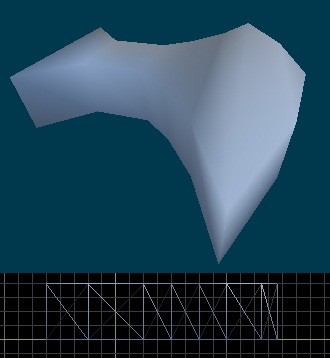
It looks great! Now the blade is ready we can start creating the handle of the axe now. This tutorial is aimed for beginners and first time users of MED and we already got complicated enough, so we are going to keep the handle simple.
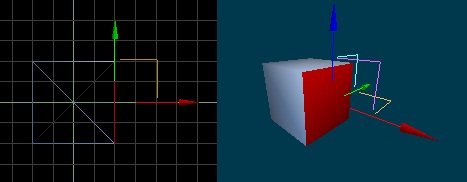
Now we are going to add our second primitive for the handle. A cylinder. Click on the Cylinder![]() icon from the primitives toolbar. A toolbar at the bottom of the MED will appear:
icon from the primitives toolbar. A toolbar at the bottom of the MED will appear:
![]()
It is pretty much self explanatory, for now we will only reduce amount of edges that our cylinder will have. Set the amount of edges to 6, and click on the Front view, right in to middle of our initial cube:
But is facing the wrong way. We need to rotate our cylinder. While it is still selected, pick the Rotate![]() tool and by clicking the red arrow shown in the above screenshot rotate the cylinder and scale it up a little by clicking on the middle of the cylinder like this:
tool and by clicking the red arrow shown in the above screenshot rotate the cylinder and scale it up a little by clicking on the middle of the cylinder like this:

Now back to our top view, use scale and extrude tools to achieve something like this:
You may want to do the extruding from top view and scaling from front view to preserve the cylindirical shape while scaling.
One last reminder about the viewports, if you want to get a hard-edged preview like the one above, you should switch to flat shaded view either by goint go View->3d View->Flat Shaded or by pressing F6 key.(Note that the F6 is the default hotkey, if you changed it from the preferences screen use your own hotkey).