
Okay, now we have our terrain but it does not have any textures on it. It is pretty much same with texturing models, except we do not have to create UV layouts for terrains. Since terrain vertices always formed like a grid, it's UV coordinates are ready. But this comes with some limitations. F.i. you cannot assign diffrent skins to diffrent parts of the terrain.
Paint your terrain texture in your favorite image editing program and save it. Make sure it's dimensions are powers of two and do not make it very large. Not every graphics card supports very large textures like 2048x2048 ones. For more information about texture sizes, read basic modelling part of the tutorial or refer to manual. I am going to use this texture for my terrain(scaled down):
We already created and assigned skins to our models on basic modelling tutorial. It is not diffrent for terrains. To remind you about this quickly, take a look at the screenshot below.
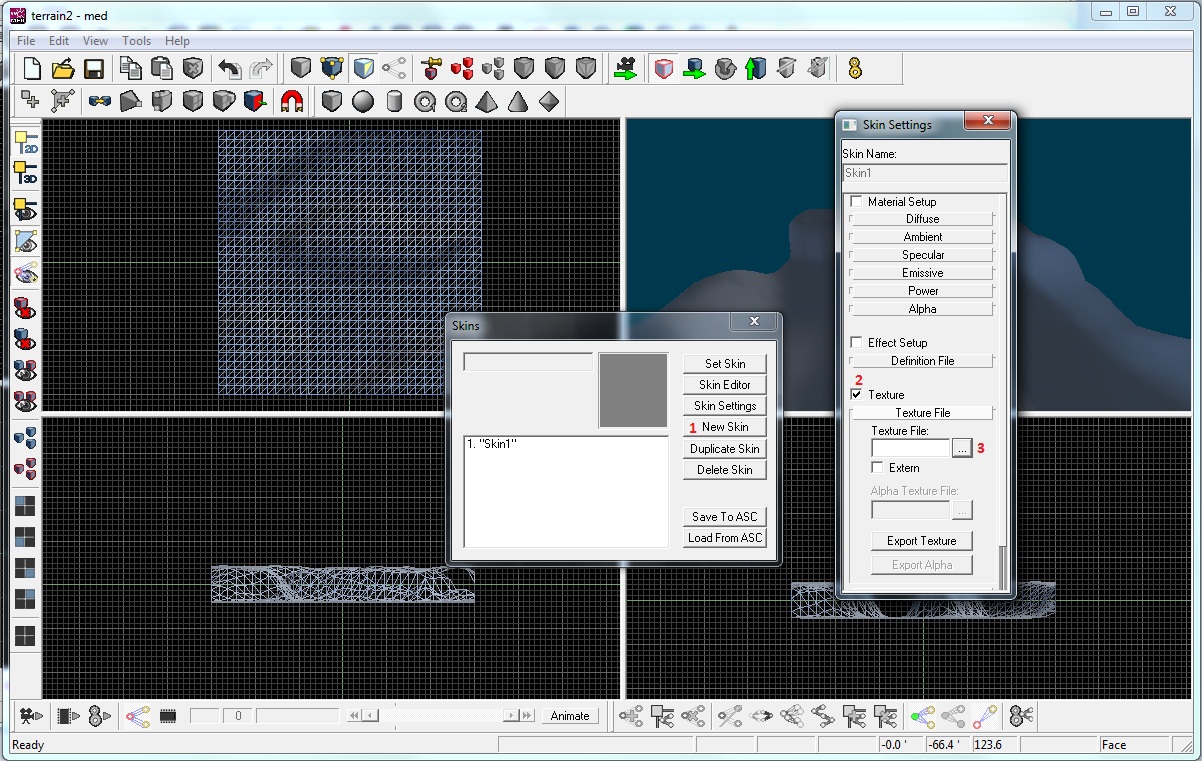
Open your terrain with med and go to Edit->Manage Skins.Skin manager will popup. Then click on New Skin, check "Texture" box, click on ... and load your texture. Then click on your skin's name from manager and click Set Skin. Your texture will be applied to your terrain, and it will be visible in 3D viewport. Go ahead and save your terrain, and take an engine preview. File->Engine Preview:
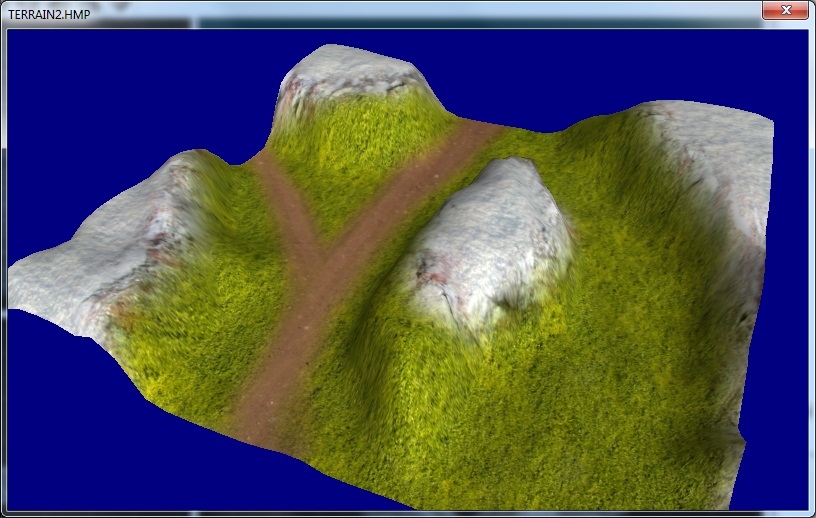
Congrats! You made your first terrain! It may not look very good on your first tries but with practice you will get better.